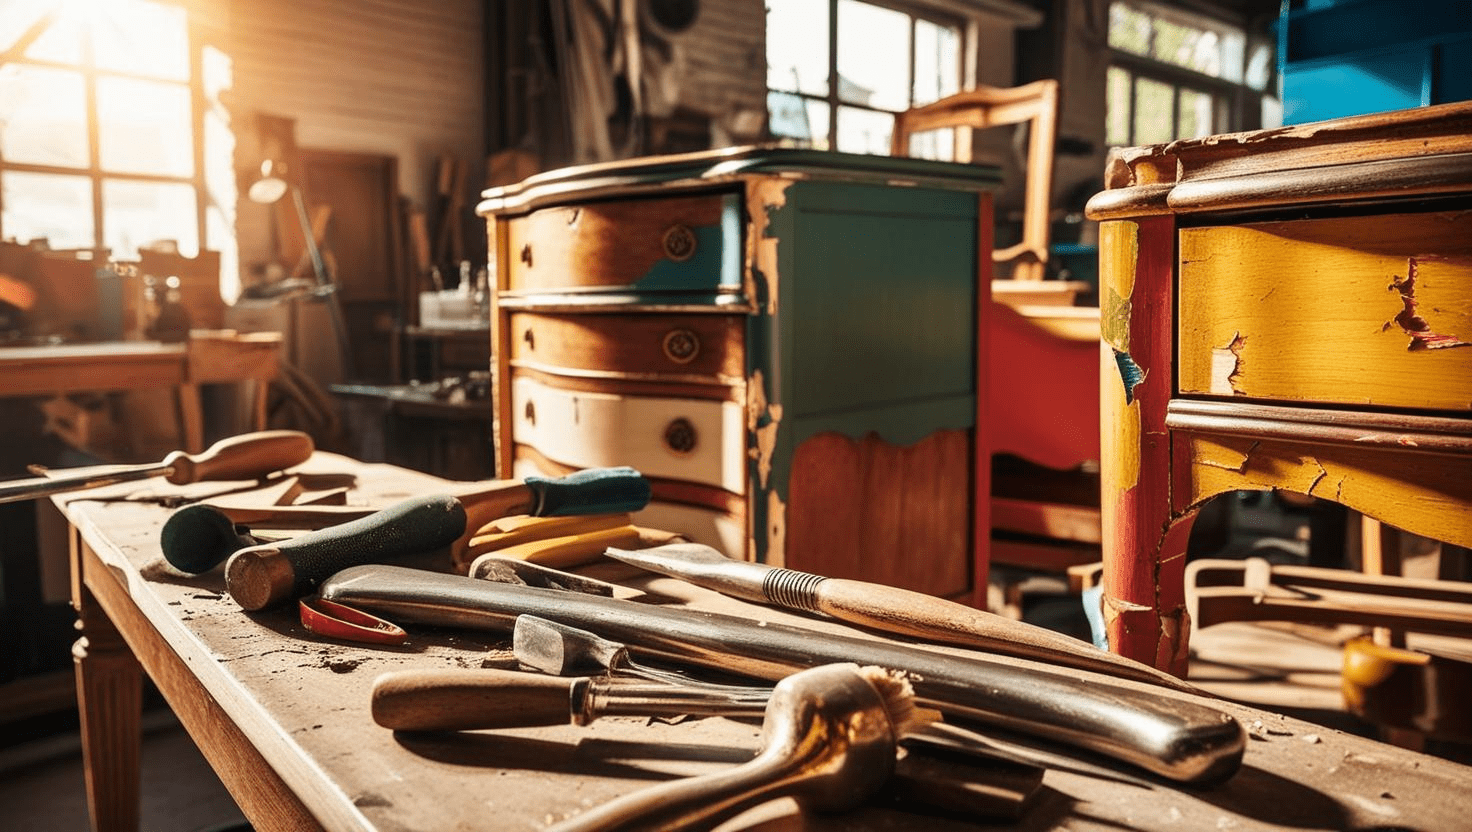
Once in a while I have a piece of inventory that no matter how low I price it just won’t sell. That was the case with the side table below. As you can see from the red penned price it was clearanced for a quick sale but I couldn’t find a buyer for it. Since I like to keep inventory fresh I decided it was time for the table to come home with me for a little makeover.

Enter the Blue Paint
I thought when I brought it into the workshop that the table would be given a quick coat of white and then back to the shop. White is easy and it sells. Full disclosure, I hate white furniture and I hate painting white. Maybe that’s why my eye wandered over to the colorful paints in my stash and landed on a gallon of blue that I picked up from the oops paints rack for $9. It doesn’t even have a label on it, but it’s a good color.
It won my heart.
Time to get to making over!
Prepare the surface
First I will always tell you to prep your surface. There are those who will argue that some paints don’t require a surface sand to use. To that I call BS.
You will never be sorry you properly prepared your surface for paint. Your paint will wear better over time no matter what kind of paint you use.
Give the surface a light sanding. You don’t have to sand down to the bare wood. You just want any slick surface to be scratched enough to give the paint something to stick to. Use 120 grit and go over the whole project.

Then wipe the surface with a damp cloth to remove sand sanding dust.
Paint
For the spindle and the legs of the table I used my 1” Purdy brush to paint. This allowed me to get into all the crevasse of the carved spindle.

The base took a total of 3 coats of the blue paint to evenly cover the whole thing. I allow each coat to dry for about 20 minutes between coats.
I used a sponge roller to roll white on the top of this piece to ensure that the top is smooth. The trick to using a sponge roller is to get it wet first and then squeeze out all the water so the roller is damp before you load it with paint. The top only required two coats because I knew it was going to be covered with something else.

Decoupage
I allowed the paint to dry overnight before moving on to the next step. I’ve had this gorgeous paper in my stock for a very long time waiting to find the right project to use it on. If you look very closely you can see a little bit of blue tucked in among the white flowers.

I knew that the blue I painted on the base would make the blue in the paper shine.
To decoupage I coated the top with Mod Podge Hard Coat. It’s specifically formulated for furniture to ensure the application will hold up under use.

First I brushed the Mod Podge in one direction and then the other direction crisscrossing the first coat to make sure I covered the entire surface.

Then I laid the paper over the top. I had cut the paper to a manageable size first but not in a circle. Then with the same Mod Podge covered brush I brushed over the surface of the paper to press it in place.

Once it was in place I covered the surface with a thick coat of the Mod Podge to seal it. I let the decoupage dry completely before I cut off the excess paper. To cut I used a very sharp X-acto blade using the lip edge as a guide.

Of course I gouged the paint when I cut the excess off. I’ve never been a steady hand so I was prepared for a little paint touch up. Once that was done I used varathane 2x to give the whole table some protection.

Now it’s going back into the shop but with a higher price tag than before.

If you loved this furniture makeover, why not spread the inspiration? Share this post with fellow DIY enthusiasts, upcyclers, or anyone looking to give their old furniture a fresh new look. Your share might just spark someone’s next creative project — and I’d love to see what they create! Let’s keep breathing new life into forgotten pieces, one makeover at a time.
Want to see this table makeover come to life? Check out my YouTube video where I walk you through the entire DIY process, step-by-step. If you’re a visual learner or just love watching transformations, this one’s for you! Don’t forget to like, comment, and subscribe to my channel for more creative projects and vintage finds.
If you enjoyed this side table transformation, be sure to check out my resin table top makeover for another fun and creative furniture flip!