Premixed glaze is so expensive that’s why when I found Modern Masters Tintable Glaze I was excited to try it. I hate paying $5 for a sample size and then it’s not even the right color. Using tintable glaze I could mix as much as I need, in the shade I want at a fraction of the cost of other glazes.
In this case, the glazes I found were not the color I wanted. I wanted to created a subtle movement of color on my project and not an aging glaze.
Mixing Tintable Glaze

There is surprisingly little information on how to mix tintable glazes also called scumble glazes in the art world. I think Modern Masters assumes that if you’re using this product you’re already and expert. That’s why is says “for the trained professional” on the bottom.
I’ve never let that stop me before so why stop now! I turned to my husband who is a professional artist. He clued me in to powdered pigments which he uses to tint his glazes. He’s such a great resource for me.

I decided on the Pearl Ex Series 2 collection because I loved al the color in it and could see me using all of them down the line. They do sell individual pots of color too but I wanted the variety.
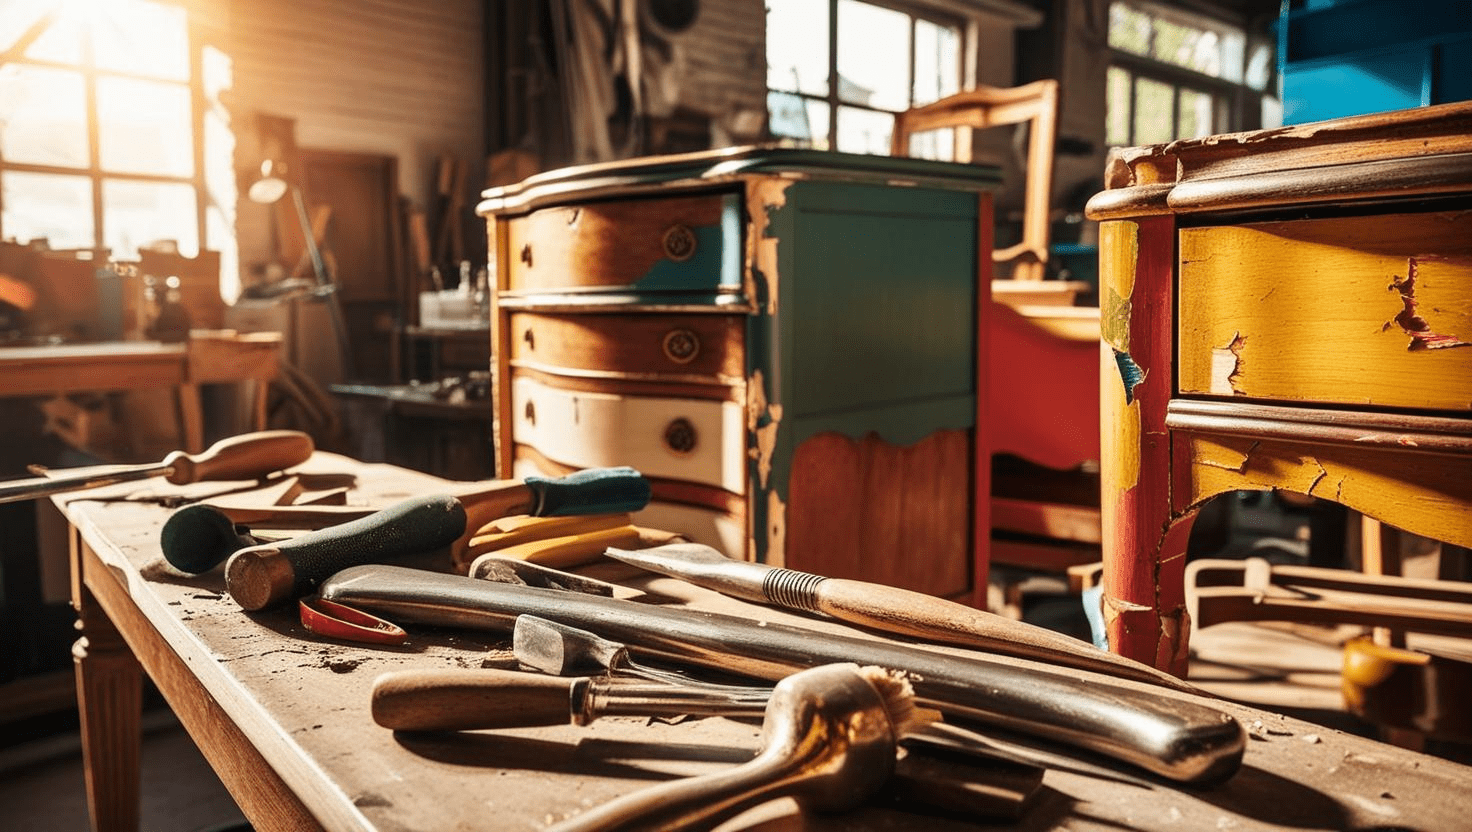
Let’s Glaze Some Paint!

This is the piece I decided to use my tintable glaze on. It’s a music stand that someone had gutted so I converted it into a nightstand.
The first step was to remove all the loose veneer from the doors. Then I painted it in bubblegum pink chalk paint from Junk Gypsy called Gypsy Prom. It’s pretty but I wanted something more.

The scant information I did find said to make sure you use Tintable Glaze over a semi-gloss surface. If you put it over a matte finish the glaze would just soak in and not move at all which you don’t want. So I did clear coat this piece with semi-gloss and allowed it to dry.

The advice I was given by my husband was to fill a container with 1/4 of the amount of glaze I thought I would need. I completely over estimated the amount of glaze I thought I would need. A little goes a very long way! I needed about 2 ounces and I mixed 12.
Live and learn.

Then I added a few spoonful’s of the pink flamingo powdered pigments. I ended up using the whole pot of pink because I wanted a bright color. Then when I tested it on my project I decided I wanted a darker contrast and ended up adding two spoons of purple. You will probably need to fine toon your glaze too in order to achieve the look you want.

I would recommend (after my mistake) to pick a contrasting color. The pink just made it look like I darkened the paint instead of giving the color the movement I wanted.

Use a stick or a dowel to mix your pigments and glaze together. This doesn’t take too long. You just want to be sure there are no powder chunks in the glaze.
Time to Glaze

I used a figure 8 motion to cover the who cabinet. This give the finish a mottled look instead of straight lines across the piece. It give the color some movement and a softness that is very pretty.

The glaze stays malleable for awhile which is nice. I used a clean, wet brush to move the glaze where I wanted it. On the doors I wanted more glaze around the edges and less in the center so I pushed the glaze around until I was happy. I purposely did not clean up the heavy deposits in the groves because I wanted dark patches here and there.
The Finished Product

When the tintable glaze was dry I clear coated the entire project again just to protect the finish and make it as durable as possible. Once it was dry I added the adorable diamond knobs I bought on Amazon. These drawer pulls are like magic. Every project I put them on has sold right away.
I also added a vintage wood carving to the top of my piece for added detail. If you want to add more detail to your pieces try using wood appliques.
You can see what I mean by giving the paint movement. It’s a softer look than solid paint. It’s pretty in my opinion and I think this piece will sell right away!
See how the whole project came together in the video below!
Please Share This Post
If you liked this post helpful please share it with your friends or better yet pin a copy to your Pinterest page. Just use the Pinterest ready image below.

Thank you for reading and if you’re looking for another fun way to layer paint check out my post on Pima Marketing’s Artisan Powders.
Many blessings to you!
~S
Links above are Amazon affiliate links. There is no extra charge to you for buying through these links. I earn a small commission which helps support this blog. I am so grateful to anyone who chooses to purchase through my links!