Skip to content

Peony Lane Designs

Re-love, Re-imagine, Restore, Reuse, Relax

Menu
  • Home
  • blog
    • Business
    • Etsy Selling Tips
    • Painting
    • DIY
    • Recipes
  • YouTube
  • Shop
    • My Etsy Shop
  • About
    • Featured as a Vintage & Home Decor Expert
  • Resources
  • Disclosures
    • Privacy Policy
  • Reseller Resources
  • Advertise
Menu
Two-Tier Jewelry Stand Made from Vintage Dishes

Two-Tier Jewelry Stand Made from Vintage Dishes

Posted on January 31, 2026January 31, 2026 by Stacy Verdick Case

This project is the most advanced of the three, but it is also one of the most rewarding. It’s a wonderful way to repurpose damaged or incomplete vintage dishes that you love but can’t use as intended.

I found a vintage snack plate and matching saucer featuring white roses. The cup was broken and there were no additional pieces, but I loved the pattern and wanted to give these pieces a new life.
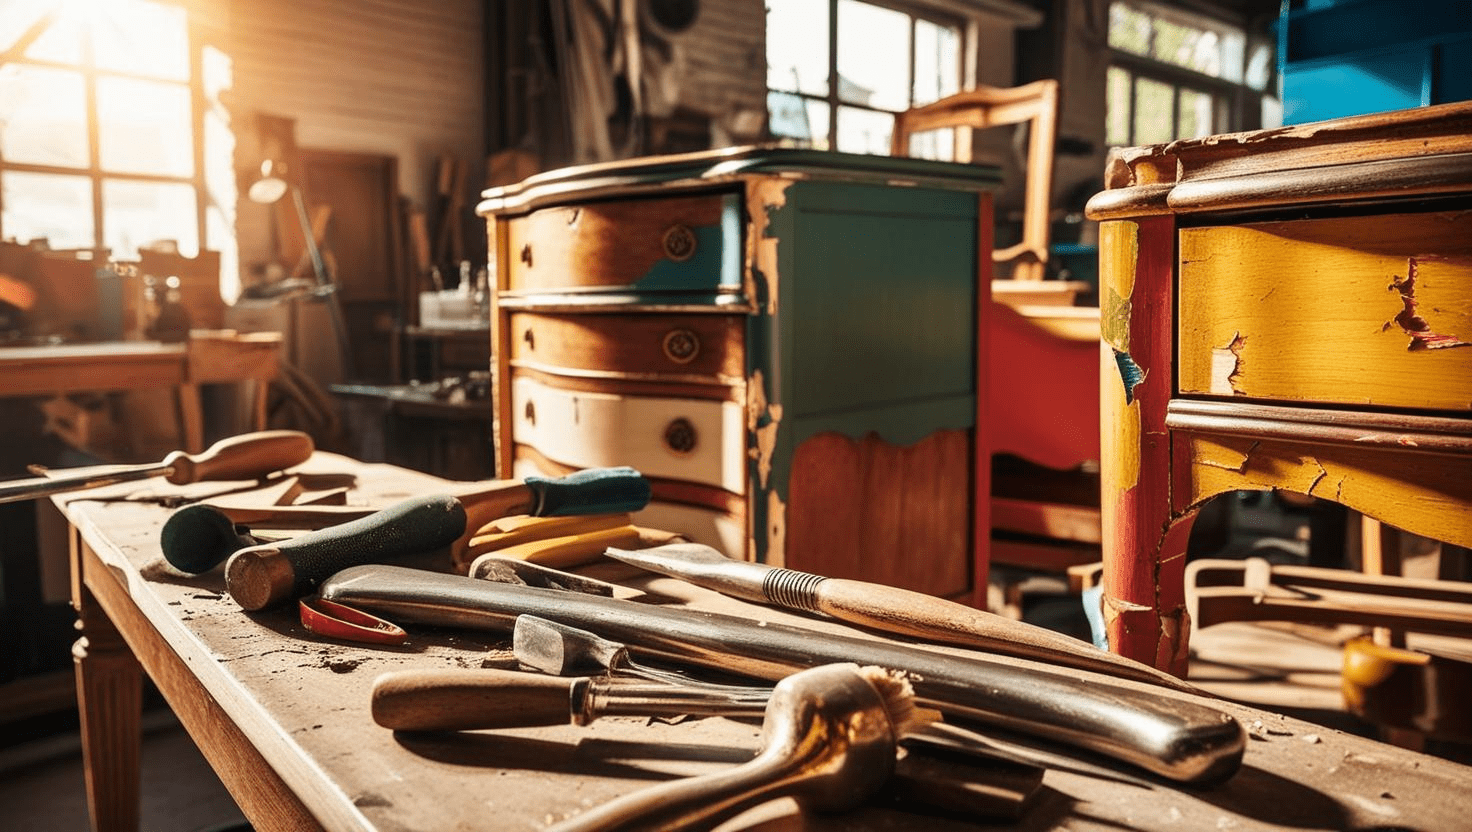
Jewelry tray vintage dishes

Supplies Used

You will need a vintage plate and saucer, a diamond drill bit designed for porcelain or stone, a drill, water, and cake plate hardware, which can be found online.

How to Make a Two-Tier Jewelry Stand

1. Trace around the plate on a piece of paper and cut out the circle.

trace the circle

2. Fold the paper circle in half, then in half again.

fold in half twice

3. Cut off the pointed tip of the folded paper to find the exact center.

Cut the tip

4. Transfer the center mark to both the plate and the saucer.

Mark your center

5. Fill the plate with water to keep the drill bit from overheating.

Water keeps bit from overheating

6. Begin drilling at a 45-degree angle using a diamond drill bit to create a small groove.

Drill straight down

7. Slowly bring the drill to a 90-degree angle and continue drilling straight down.

8. Repeat this process for both the plate and the saucer. This takes time and patience.

Hole in center of plate

9. Assemble the cake plate hardware with the larger plate on the bottom.

cake stand hardware kit

10. Place the saucer on top and secure it with the finial.

11. Tighten everything gently and enjoy your finished jewelry stand.

Adorable jewelry stand

Wrap-Up

Projects like this are a beautiful way to preserve vintage pieces that still deserve to be seen and used. If you enjoyed this tutorial, be sure to browse PeonyLaneDesigns.com for more vintage inspiration and creative ideas. And if this sparked an idea for your own collection, please share this post with someone who loves repurposing vintage finds.

Let’s Stay Connected!

Don’t forget to share this post, follow me on Instagram for all the latest updates, and—of course—subscribe to my YouTube channel, where I do projects like this all the time.

Follow me on your favorite platform so you never miss a makeover!

  •  Instagram for behind-the-scenes and sneak peeks
  •  Facebook for live updates and community fun
  •  YouTube to watch the full DIY process in real time

No matter where you scroll, I’m sharing tips, tricks, and creative projects to inspire your next flip. So pick your place and hit that follow button—I’d love to have you along for the ride!

Two-Tier Jewelry Stand Made from Vintage Dishes Pin

Related

A photo of stacy Verdick Case Owner of PeonyLaneDesigns.com

Get Your Happy Junkin’ T-Shirts!

Official Merch

Shop My Etsy Vintage Store!

Recent Posts

  • Three DIY Projects You Might Have Seen on Fox 9 Good Day
  • Two-Tier Jewelry Stand Made from Vintage Dishes
  • DIY Wooden Riser with Beaded Rim
  • Easy Napkin Decoupage Tile Coasters (Budget-Friendly DIY)
  • Struggle Meal: Makeover Beef Stroganoff
Affiliate Disclosure
© 2026 Peony Lane Designs | Powered by Superbs Personal Blog theme
We use cookies on our website to give you the most relevant experience by remembering your preferences and repeat visits. By clicking “Accept”, you consent to the use of ALL the cookies.
Do not sell my personal information.
SettingsAccept
Privacy & Cookies Policy

Privacy Overview

This website uses cookies to improve your experience while you navigate through the website. Out of these cookies, the cookies that are categorized as necessary are stored on your browser as they are essential for the working of basic functionalities of the website. We also use third-party cookies that help us analyze and understand how you use this website. These cookies will be stored in your browser only with your consent. You also have the option to opt-out of these cookies. But opting out of some of these cookies may have an effect on your browsing experience.
Necessary
Always Enabled
Necessary cookies are absolutely essential for the website to function properly. This category only includes cookies that ensures basic functionalities and security features of the website. These cookies do not store any personal information.
Functional
Functional cookies help to perform certain functionalities like sharing the content of the website on social media platforms, collect feedbacks, and other third-party features.
Performance
Performance cookies are used to understand and analyze the key performance indexes of the website which helps in delivering a better user experience for the visitors.
Analytics
Analytical cookies are used to understand how visitors interact with the website. These cookies help provide information on metrics the number of visitors, bounce rate, traffic source, etc.
Advertisement
Advertisement cookies are used to provide visitors with relevant ads and marketing campaigns. These cookies track visitors across websites and collect information to provide customized ads.
Others
Other uncategorized cookies are those that are being analyzed and have not been classified into a category as yet.
SAVE & ACCEPT
Powered by CookieYes Logo

Sign up for my email newsletter

Be the first to know about new DIYs!

Name
Enter your email address

No thank you.


Loading Comments...